Wednesday, February 22, 2012
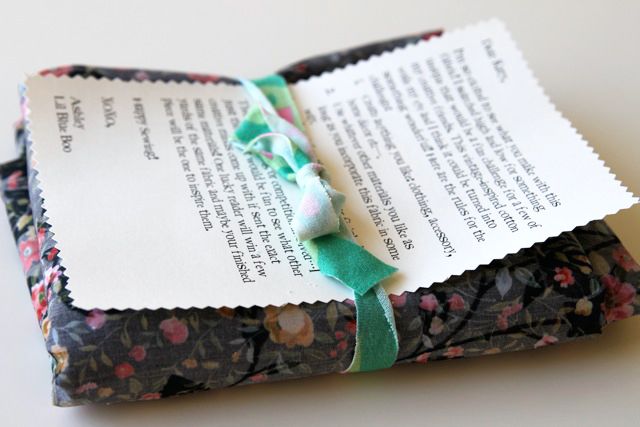
Made: a photobook
Wednesday, May 4, 2011
woolly branch centerpiece: a tutorial
Besides, do you ever really remember when bloggers say they'll post something next week or the week after? I know that I don't. Maybe that's just me and an early onset of those senior moments my middle school history teacher used to claim to have. If I'm having them at twenty-two, though, I'm a wee bit concerned for the future.
Oh, what's that? This is supposed to be a tutorial and not a stream of consciousness narrative concerning my momentary memory lapses? I've done it again. Here is a very simple project that looks very pretty in real life. The photos confirm the great need for more sunshine and better light in the month of April here instead of ten-plus inches of rain. Thank goodness the sun came out on Friday and Saturday!
Sunday, April 24, 2011
Happy Easter!
Thursday, April 21, 2011
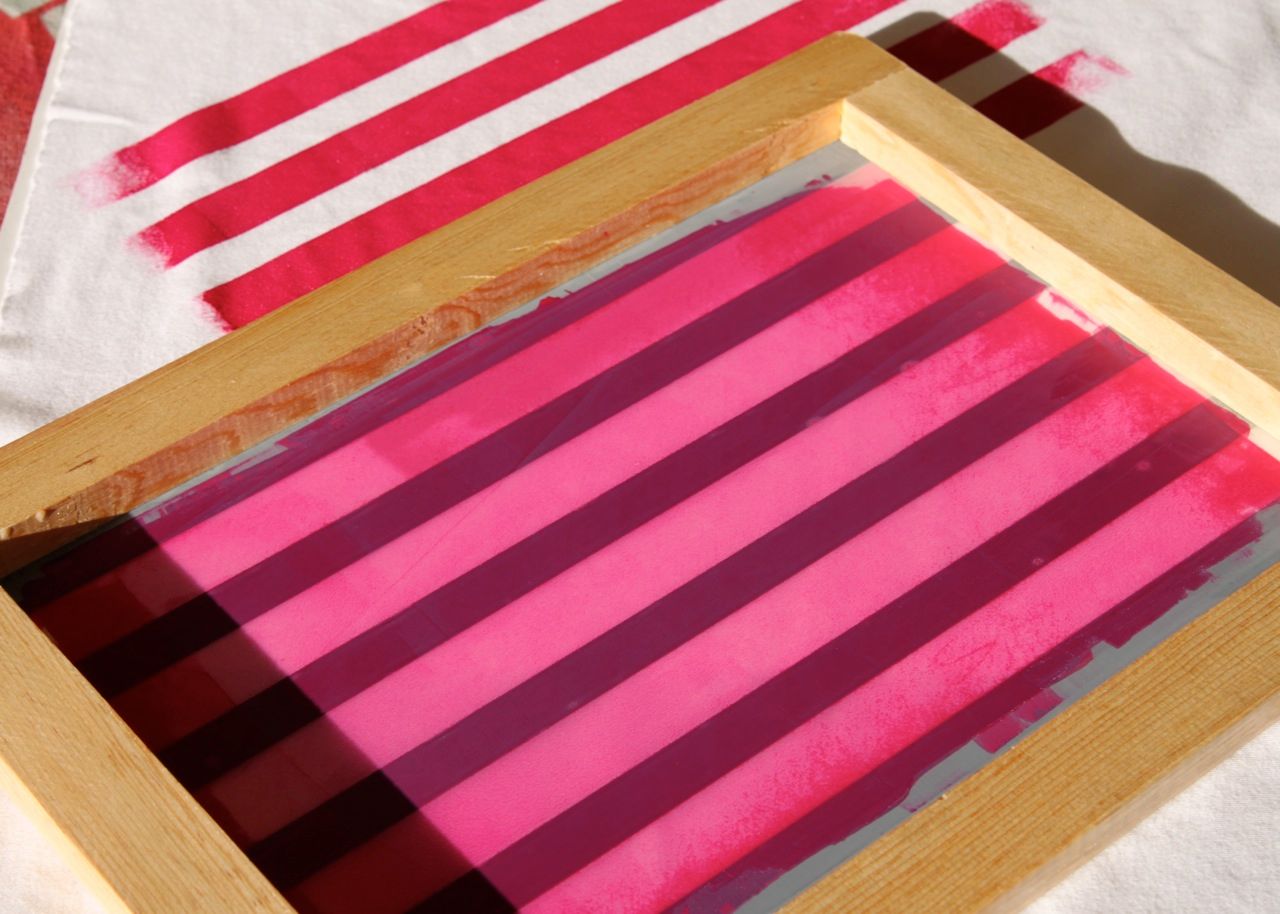
ventures into the blogosphere :: screenprinting tutorial at Lil Blue Boo
If you have some time, take a look at her other tutorials, and maybe you'll find one you'd like to try, too.
Have a lovely day!
Wednesday, April 20, 2011
"The amen of nature is always a flower." -Emerson
Wednesday, April 13, 2011
making nice with my sewing machine
But sometimes I make friends with Janome again, and we work out our differences and make pretty things. I've learned it's best if I stick with plain shapes, like rectangles, squares, and the occasional buttonhole. This time, though, I managed some gussets, of which I'm quite proud. I'd write you a tutorial if I had made it in a way that was logical and could be recreated, but any directions I give you are liable to get your sleeve sewn to your bag (almost happened) and leave you ripping out seams every fifteen minutes (did happen). Instead, I'm sharing only the finished product, with adjustable straps inspired by this tutorial spotted on pinterest and a little bit of pattern mixing.
It's a whatever Wednesday on Momma Hen's Coop, so there's a button in this post. You should look at this table she rescued and prettified with paint. It's also a plus that she's from Kentucky.
Wednesday, March 23, 2011
special feature: a washi tape project
Sorry. I'll stop with the wordy puns.
So here's a post I wrote in the early fall, and never published (ah, yes, that is the right word!). It's sort of a how-to just for you. I did update the dates and such, now that C. and I have been married almost a year (when I first wrote this post, it had been two months).
Last summer, my husband of ten months and I celebrated the second anniversary of our first date. It was an awkward date, as all tend to be, but grew more comfortable as we sipped white chocolate mochas (in July, I know!) and talked for over five hours. We then parted for two weeks, which would soon prove the longest we would stay apart.
Over the past two-plus years, we have celebrated some momentous occasions--a wedding, a proposal, I-love-yous, and a first kiss, though not quite in that order--and I wanted to celebrate. So, drawing inspiration from all the amazing washi tape projects I've seen around the blogosphere, I created a simple-yet-special card to give my husband.
I started with some blank notecards. I bought a pack of 200 at Target a few months ago, in all different soft shades, which have proven enormously useful.
On each notecard, I wrote down the date of an occasion, a little title, and a few words of description. I also stamped little hearts under each date, with the number of hearts correlating to the event's place in chronological order. I chose eight different days, starting with our first date, and ending with our anniversary. But it would be very simple to extend or shorten the number of cards you use.
I then attached the matching envelopes to each other with a glue stick (acid free), then wrapped washi paper tape around the top and bottom to secure the attachment, since the glue sticks aren't super duper strong and washi tape is far more pretty. I had a marker with a heart stamp on one end and did a border above and below the washi tape. I tucked the ends of the top piece of washi tape inside the envelope so that it appears seamless. Then I just set the cards into their own little pockets and they were ready to go!
It's so fun to look at the cards and remember all the big days of our relationship, but it also reminds us of all the happy little days in between. Enjoy sharing the same memories with your special someone!
Best,
Katie
p.s. this project seems to coordinate well with my new blog's colors. hooray for slight success in matching!
p.p.s. I'm submitting this for the itssoverycheri blog's project party, hence the button at the end of this post. Cheri has a nifty tutorial on making fabric tape, so you may want to check it out.
Saturday, March 5, 2011
ventures into the blogosphere :: getting crafty with Poppytalk Handmade
poppytalk: Getting Crafty in Chinatown!
{Image by & belongs to Janis Nicolay}
Tuesday, November 30, 2010
holiday DIY of the day #1
It's the last day of November, and there are twenty-five days until Christmas. I'm going to find a fun DIY project for you every day until then, and perhaps (if the clouds would just clear and give me some photographably useful light) post the whatnot garland that will soon hang from the wall of our living room.
For today, I took a little adventure to Nice Package and came across these...
babalisme: Art Swap : Continued
{if the picture doesn't show, click on that little blue box with the question mark. I'm having some technical difficulties at the moment}
I believe these darling little ziploc bags would be too fun to replicate as an easy and personalized way to deliver edible Christmas gifts. I'll be trying my hand at one later, though I believe it may end up on my desk as a storage option. Most baked goods don't make past C. or me.
Wednesday, October 6, 2010
definitely want to do this #7: book page fabric
maybe I should just start a category of "awesome design*sponge DIY projects," because there are a lot of them--and most of them I can actually do!
Design*Sponge » Blog Archive » diy project: brenna’s book page fabric
Want to make.
Wednesday, September 22, 2010
definitely want to do this #6: market bag makeover
Design*Sponge » Blog Archive » diy project: market bag makeover
I'll update once my sewing machine arrives and I make one!
Monday, September 13, 2010
a before and after.
(sad, tired out headboard)
I was lucky. It's super lightweight and short enough that I could slide it into the trunk of my civic coupe, with the back seats flipped forward, of course, just steadily enough to drive the tenth of a mile (or less?) home. I cleaned it off and brought it inside.
Yesterday, my family came to visit. My mom, sister, and I went over to Peddler's Mall just for the fun of it. I picked up a roll of wallpaper in a nice Waverly print to use for paper crafts. So when I brought this sorry headboard upstairs, I had a thought and here's what happened...
With that and some bed raisers, we have a new headboard. It didn't have a way to bolt in--that part had broken off at some point--so I have it wedged into the bed raisers and stuck felt furniture pads on the back so it won't damage the wall. I need to touch up the paper a little bit, but overall, I think this turned out very well for a roadside trash find, a dollar roll of wallpaper, and twenty minutes this afternoon.
Tuesday, September 7, 2010
craftster find
A few months ago, I got married. My dear bridesmaids wore these headbands that I made...
 {as worn by my beautiful little sister}
They were simple and very pretty and I wanted to share how I made them, but I think I'm a disaster at writing a tutorial. I tend to be far too detailed on some steps and not detailed enough on others. I also get annoyed by saying "then" and "next" a million times because I feel so redundant.
So when I found this tutorial on Craftster, I had to contact its creator and ask if I could share it. She added a step--burning the edges so that they curl. I used silk taffeta scraps from the flower girls' dresses that my mom made, so it wouldn't have worked the same as with the polyester in this tutorial, but I really love the effect!
This tutorial is by Connie of ReFabulous. She's a homeschooling mother of eight--I know!--children and runs a darling etsy shop as well as her blog. Her creativity is definitely inspiring, no? So without further ado, here is the tutorial. Have fun!
Flower hair clips -- with TUTORIAL! - JEWELRY AND TRINKETS.
1. Cut out circles (or whatever shape you like) from the polyester that are slightly larger than your desired finished flower size. We used concentric circles for ours for a fuller, layered look. Be sure to cut a few extra, to allow for experimenting and mess-ups.
2. Light your candle, and place on a sturdy surface, away from flammables, pets and children. Place your jar of water within reach.
3. Using a clothes pin, hold one fabric circle over -- not in -- the flame of the candle.
Quickly rotate the fabric circle above the flame. The fabric will curl and may change colors.
You'll want to experiment with a few extra circles, as different fabrics will act uniquely when held near the flame. Some will curl in one direction, some turn colors, some crinkle. Holding them closer to the flame or longer will also achieve different results. Once you've achieved the look you want, set the circle aside on the foil to cool.
4. Repeat on all the fabric circles. Extinguish your candle when you are finished.
5. EXTREMELY IMPORTANT: If you hold the fabric circle still for too long, or too close to the flame, it will scorch and/or catch on fire. If this happens, quickly and carefully place the burning fabric in the jar of water to extinguish the flame. Be very vigilant -- as some fabrics tend to ignite quicker than others!
6. Next, arrange and stack your fabric circles (petals) into flowers.
7. Using your needle and thread, sew a few stitches through all the layers of petals -- just a little "X" will do -- fastening all the petals together. Tie off thread in the back of the flower.
8. Now, attach your flower center. If you are using beads or buttons, stitch them in place, tying off the thread in the back of the flower. If you are using other embellishments, a strong adhesive (such as E6000) may be used to attach them to the flower.
9. Finally, attach your flower to a hair bobby, clip or pin back using your strong adhesive.
10. Set aside on the foil, and allow it to dry thoroughly, according to your adhesive's recommendation.
And that's it! So simple, and so pretty. The possibilities are endless -- imagine these flowers layered with ribbon, mesh, tulle, organza. . . or topped with an antique brooch or cameo! These would make sweet little gifts for teachers, co-workers and friends, or even lovely stockingstuffers. Have fun!
~
Visit ReFabulous for more photos, a video, and to see a few other projects.
Saturday, July 17, 2010
definitely want to do this #2: done!
I had one that was the right weight and size, but according to Cory, it was a little bit too feminine (probably true). So I had the idea in my head to make a duvet cover.
I finally got around to it on Thursday. I had fabric (a gift), a king-sized flat sheet, and a twin-sized flat sheet, none of which were in use. I followed (loosely) this tutorial from design*sponge, particularly to use the french seams. I'm so glad I did, because the entire project looks more finished. Now with a bit of straightening up, we'll have quite a nice looking room.
I also had some fun decorating our bathroom. More on that later...
Sunday, July 11, 2010
quick project: old sheet=new dress
[gallery]
One twin-size fitted sheet from when I was ten, two nearly-empty spools of thread, and my circa-1980s Pfaff, inherited from my aunt via my mother.

It needs some alterations to be worn alone, but with a top and a cute sweater, it's ready to go. I think I'll wear it to work tomorrow.
Maybe tomorrow (when I'm not dozing), I'll post how I did it. I made many mistakes along the way, though, so my instructions may be lacking.
eh, goodnight.
ventures into the blogosphere: snippet and ink, etc.
One sent me here and then I found these beauties:

Baroque Bookshelves, Home Accessories | Graham and Green Home Accents
They're so stinking nifty. I'd love to take some plain boxes and put frames around them to replicate the effect, hopefully for less than forty-five pounds (whatever that may presently be in in dollars).
Sunday, June 13, 2010
currently loving: Olive Manna
I wonder if I could knit with the cotton twine? I mean, I'm sure I could, but maybe I should improve my knitting skills first. Maybe I should actually get going on a project first! Of course, to do so, I would need my fabric, sewing supplies, and everything else in one place. Right now, it's scattered between my parents' house, C's parents' house, and our apartment. Oops.
all images via Olive Manna – Home.
Wednesday, May 19, 2010
after-wedding project
Friday, May 14, 2010
definitely want to do this #1: book of notes
I am in love with this.
I found it via Oh, Hello, Friend.
Danni's blog is one of my favorites by far! I can never stop reading it once I begin. So many lovely images and ideas...


